How to Start Using CML for Free – Step by Step Guide
Let’s start and follow these easy steps:

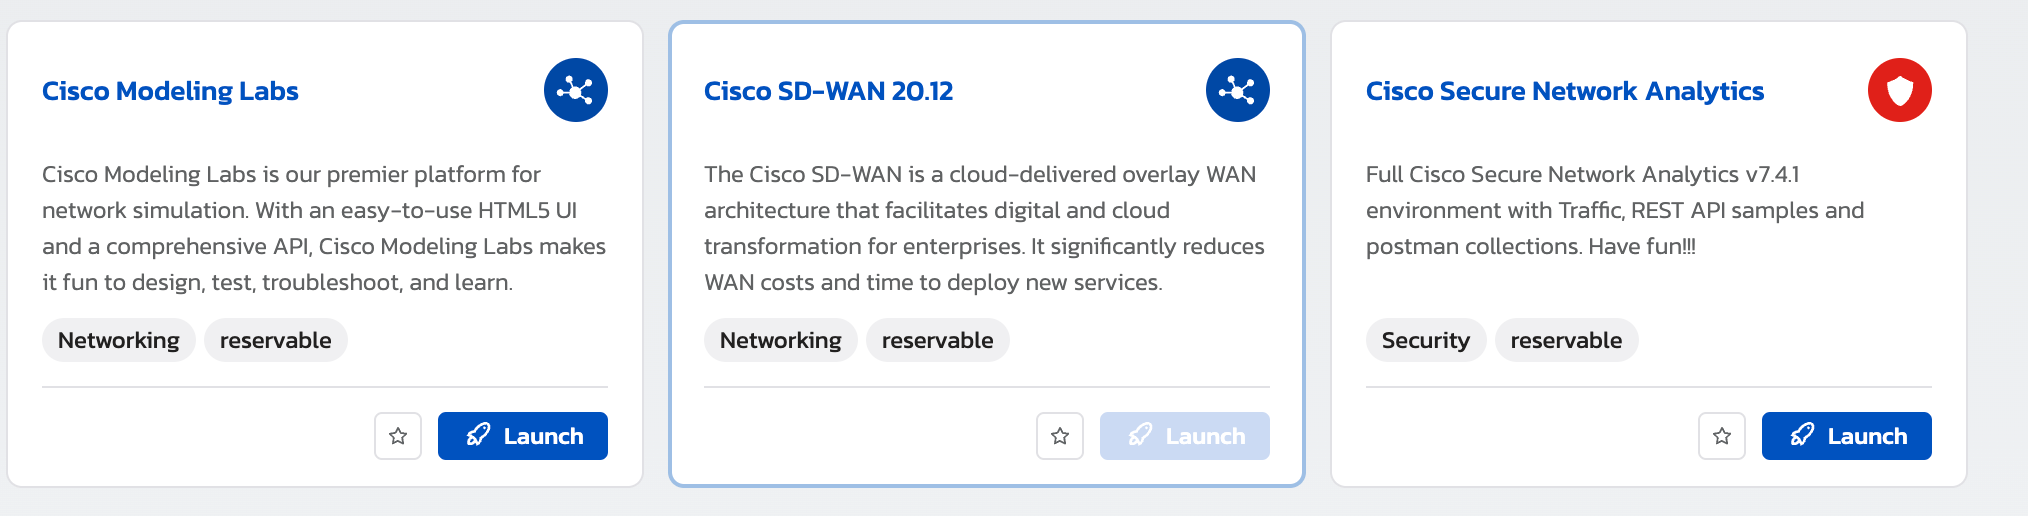
- Look for “Cisco Modeling Labs” and click on LAUNCH.
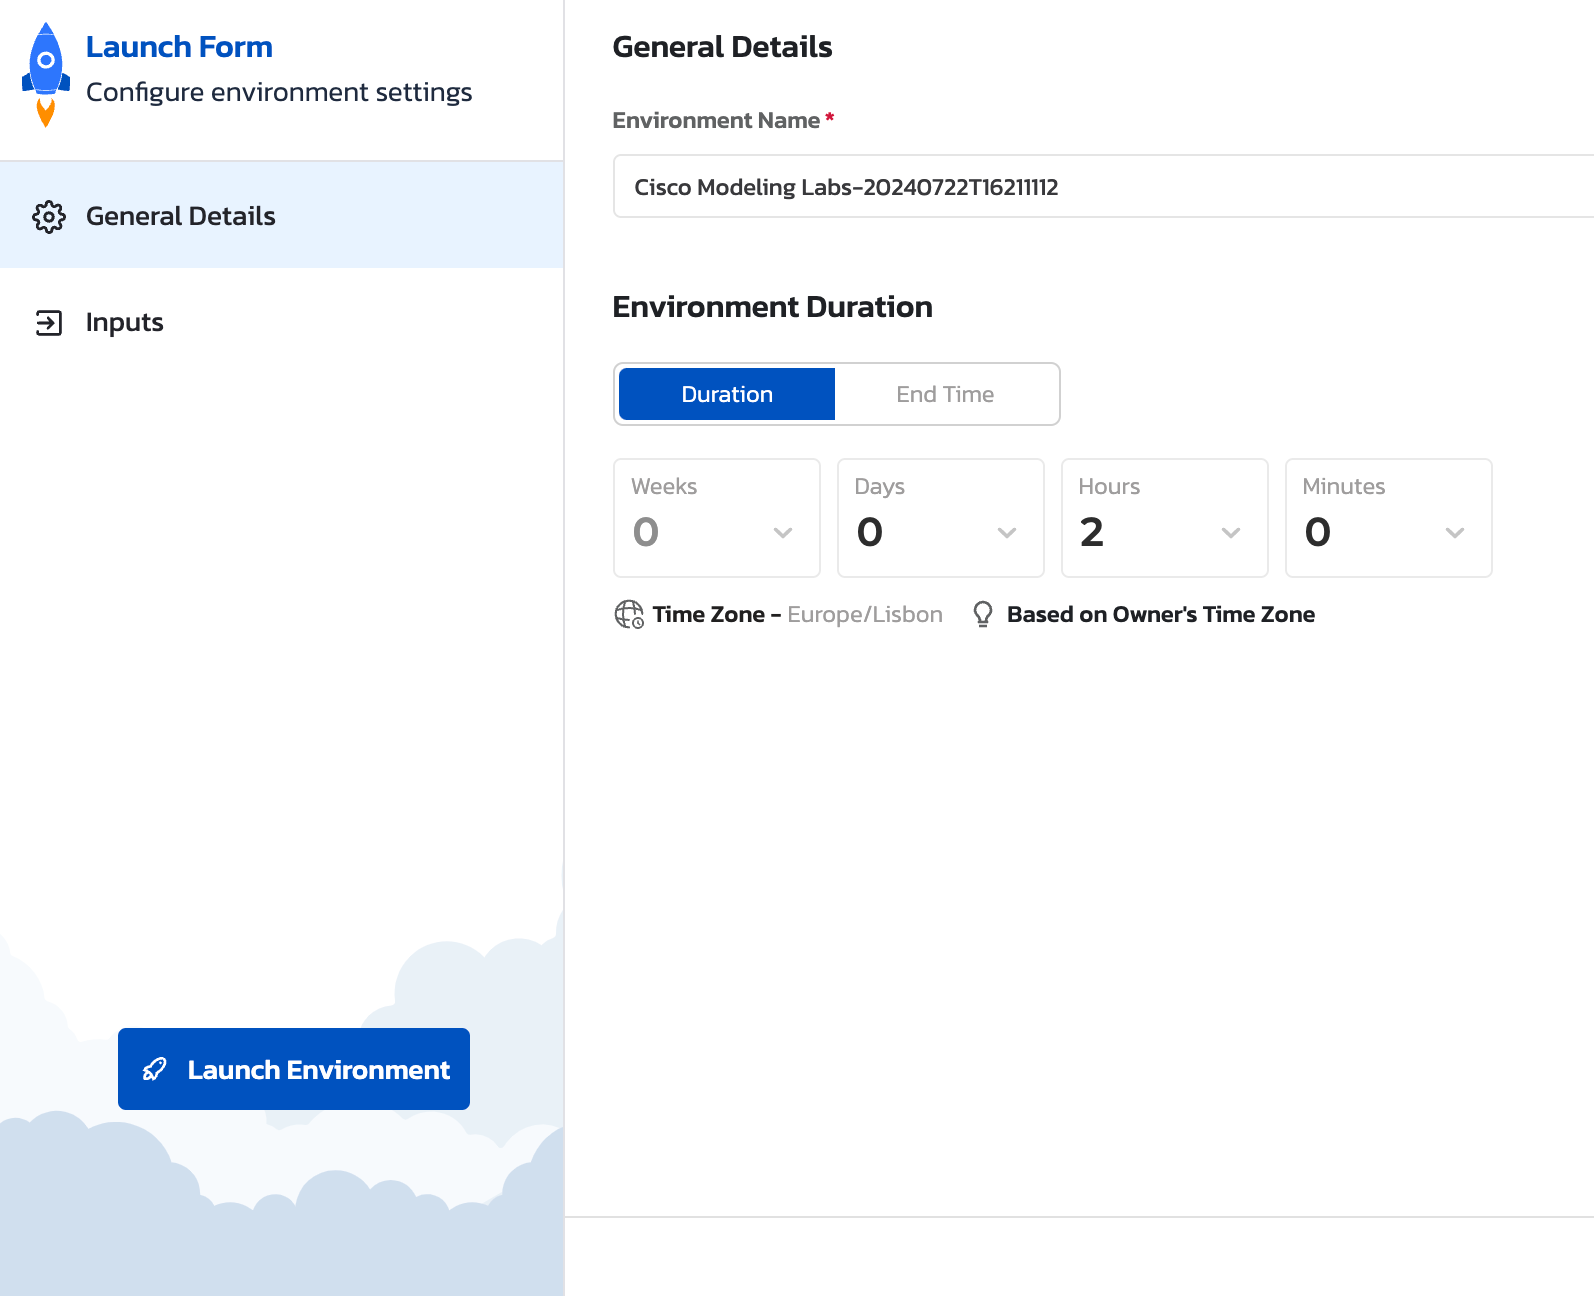
- Reserve the time you want to use it – the default time is 8 hours and you can reserve it up to 8 hours. You cannot extend your reserved time more than a total of 8 hours. After chosing the desired time click Launch Environment
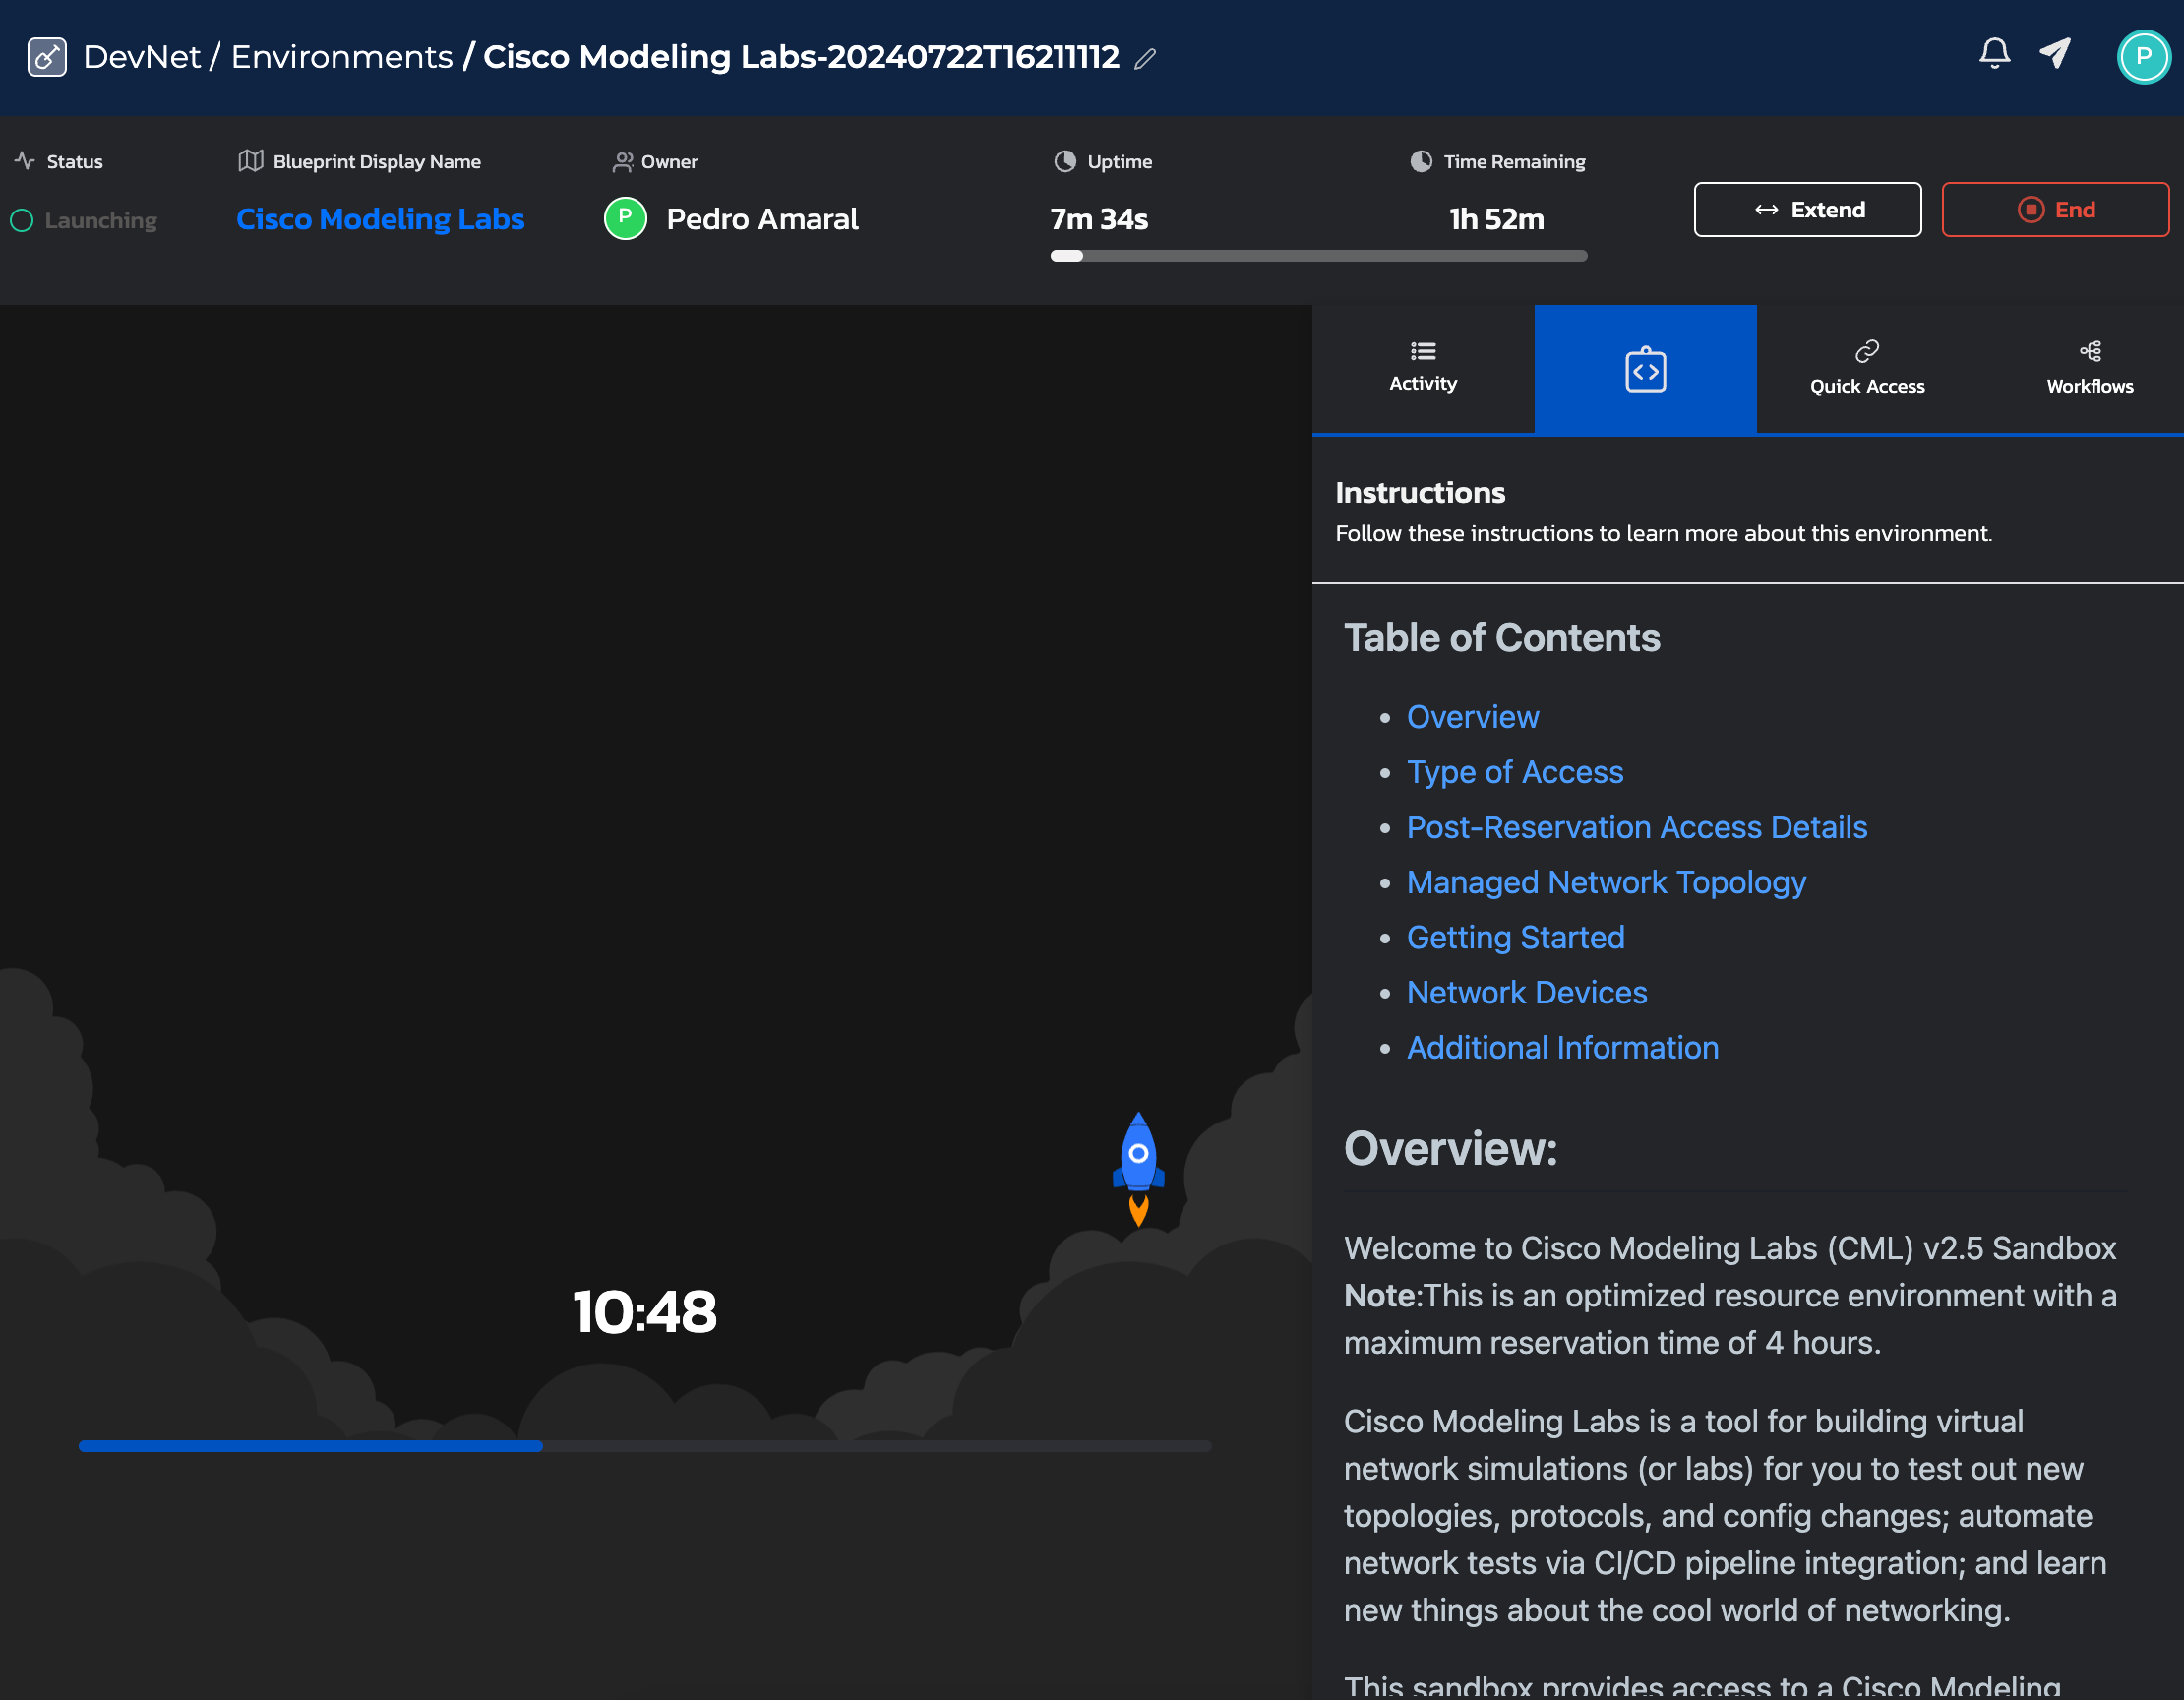
- You will see the following screen where the environment will be set up. At the top right corner, you will see butttons to extend or terminate the reservation you can also see the remaining time for the setup to be completed, once it’s ready you will receive an email. In the meantime, you can continue with the VPN installation explained in the next step.
- To access the lab environment, use the following address: https://10.10.20.161 ”.
NOTE: You may receive a connection not trusted warning, click on advance and proceed:
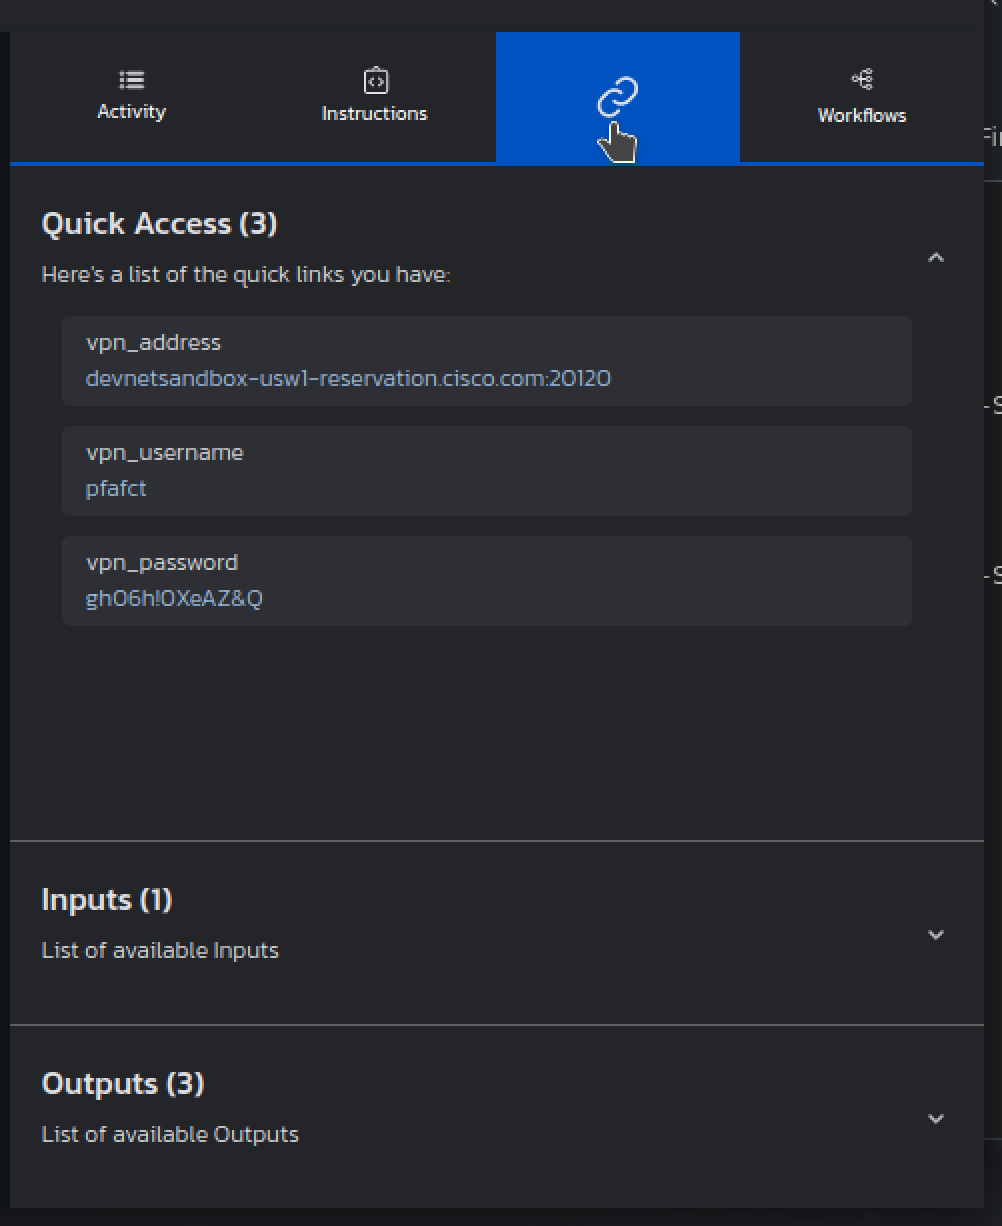
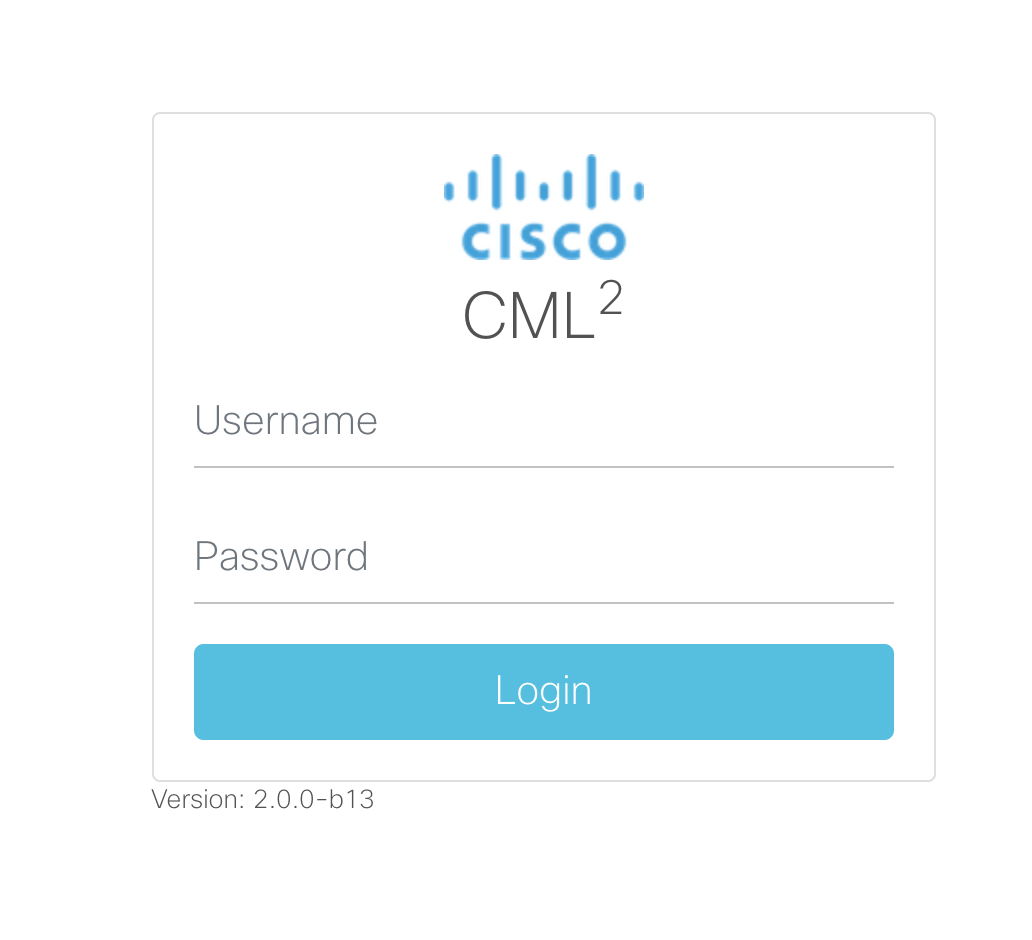
- It will open the login screen where you will use the credentials from Cisco Modeling Labs Server information, from the previous image:
- You will access CML where you can start doing your own labs. It will come with a predefined network to start checking all the features available:
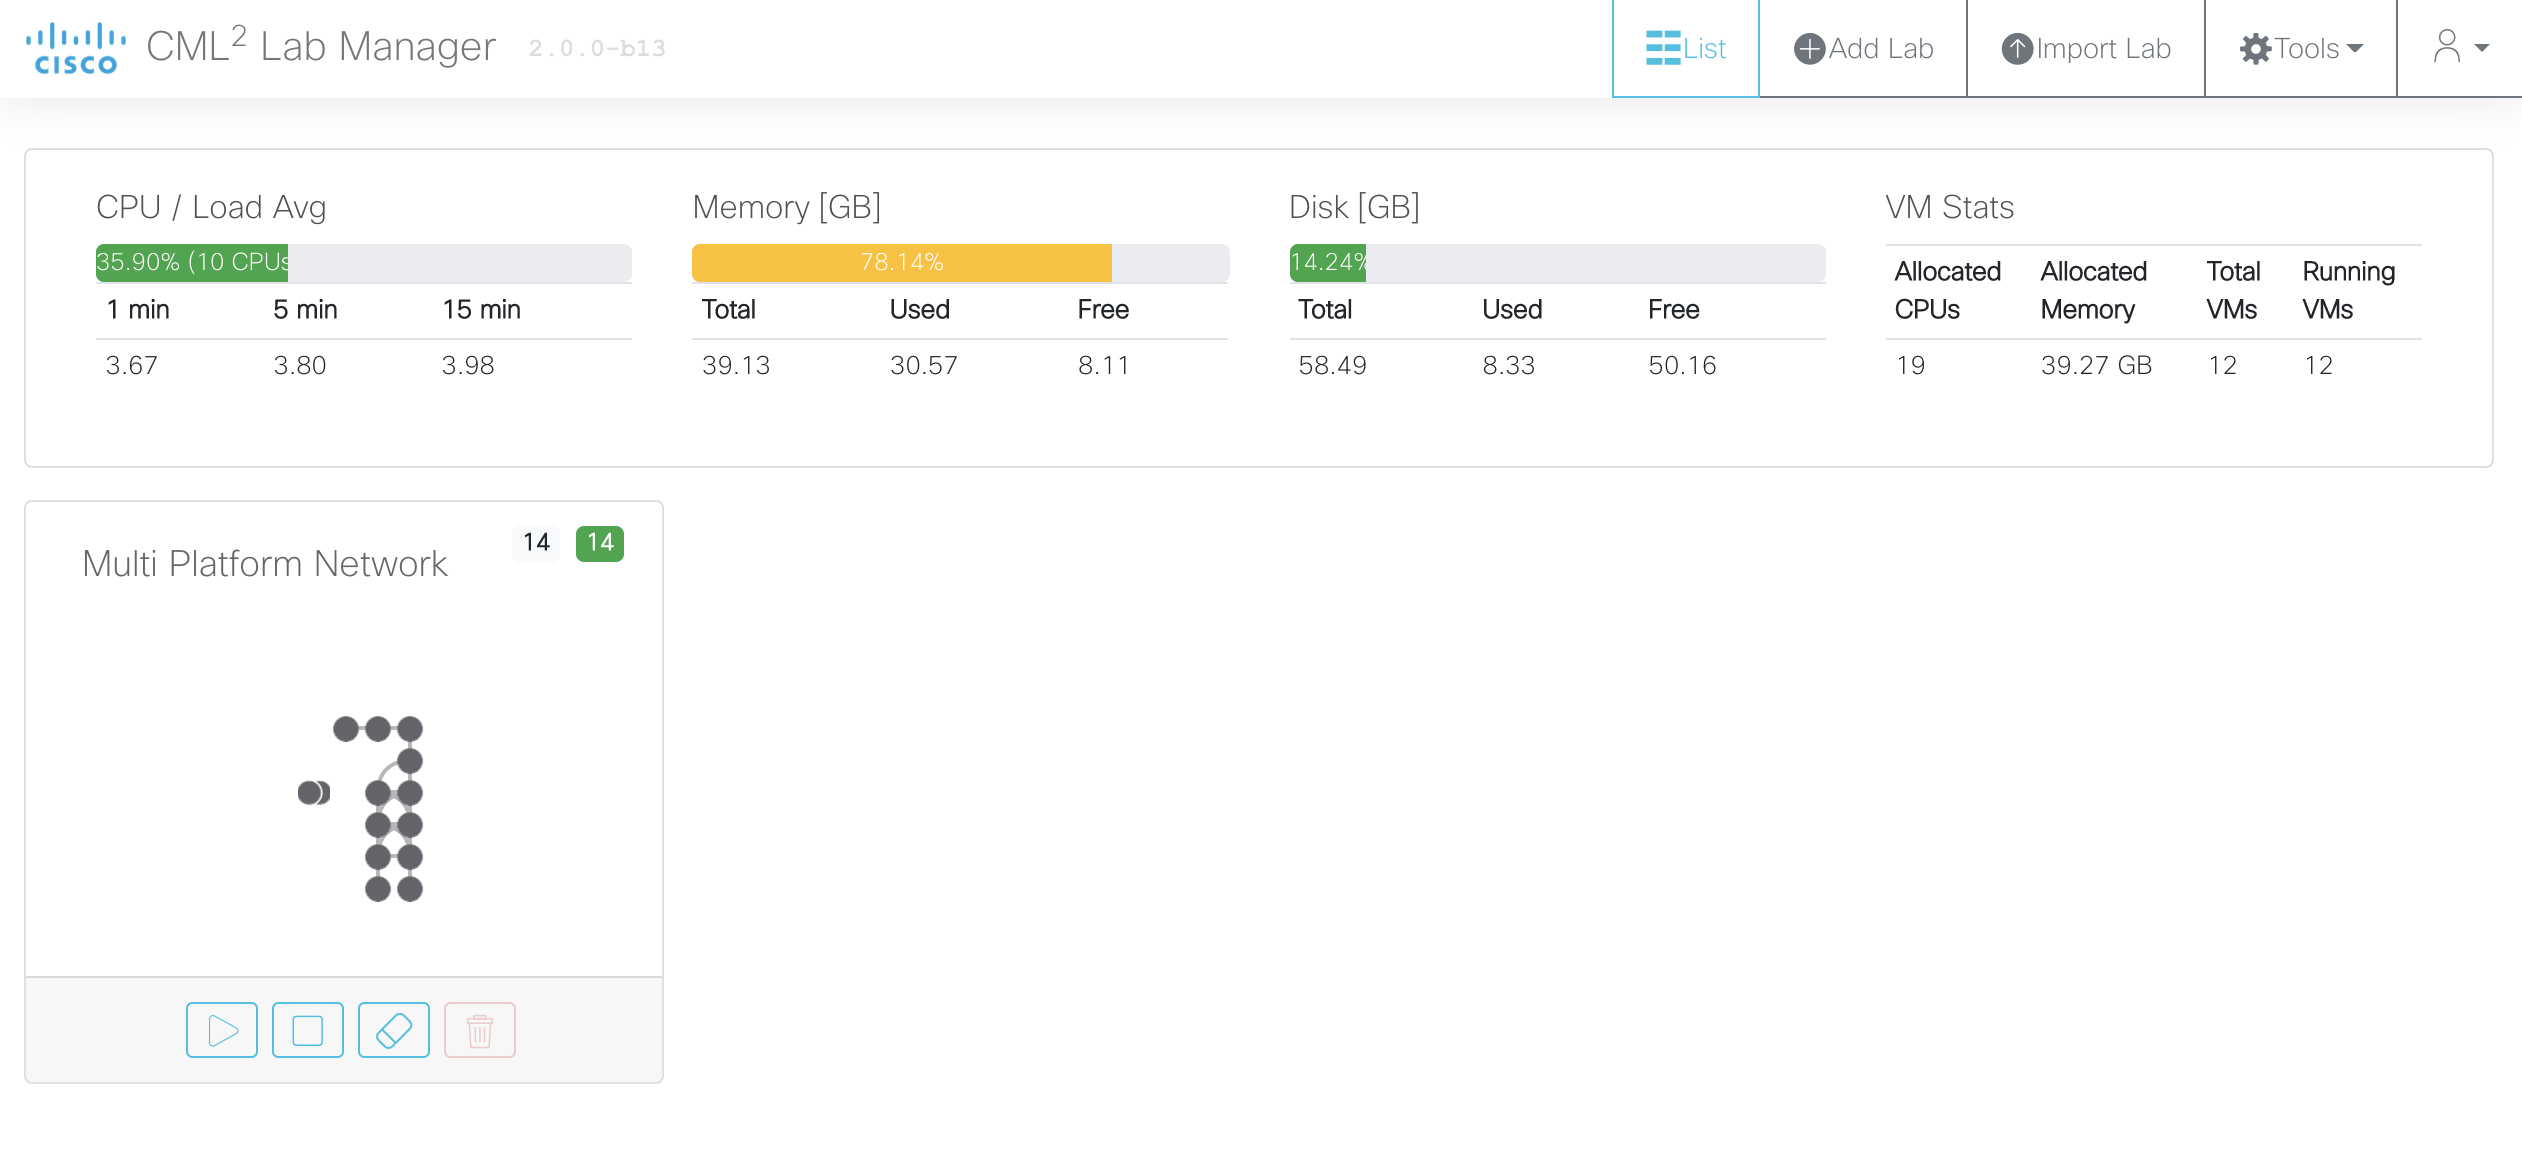
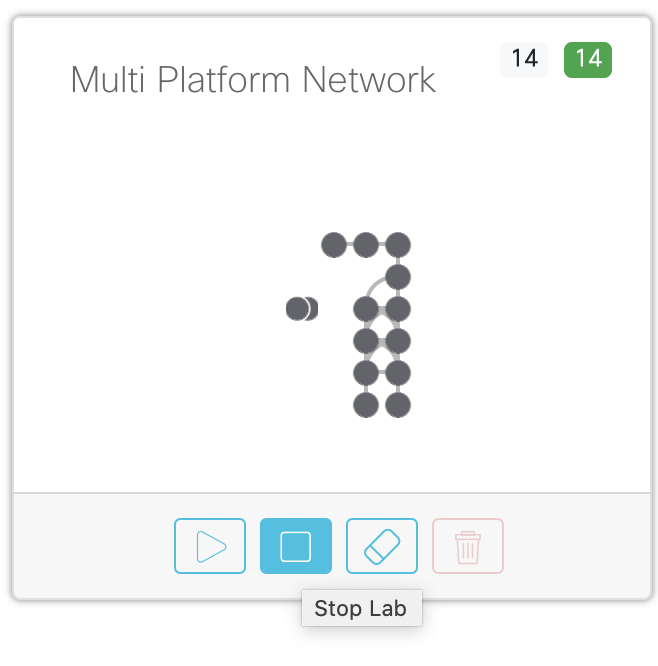
- If you want to create your own network, you will need to stop the current topology because it’s taking 14 out of 20 nodes that you have available.
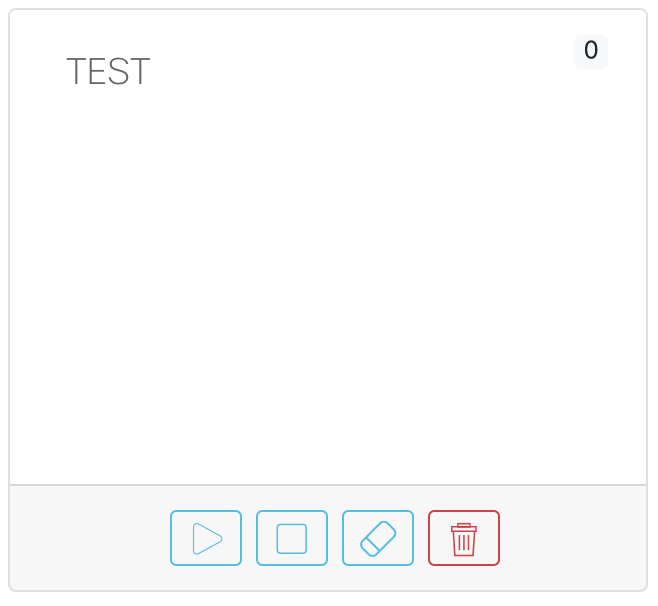
- To create your own lab, click on Add Lab at the top right corner of the screen:

- Add a name to your LAB and create it:
- Click on your lab and it will open the design window, with the drag and drop interface.
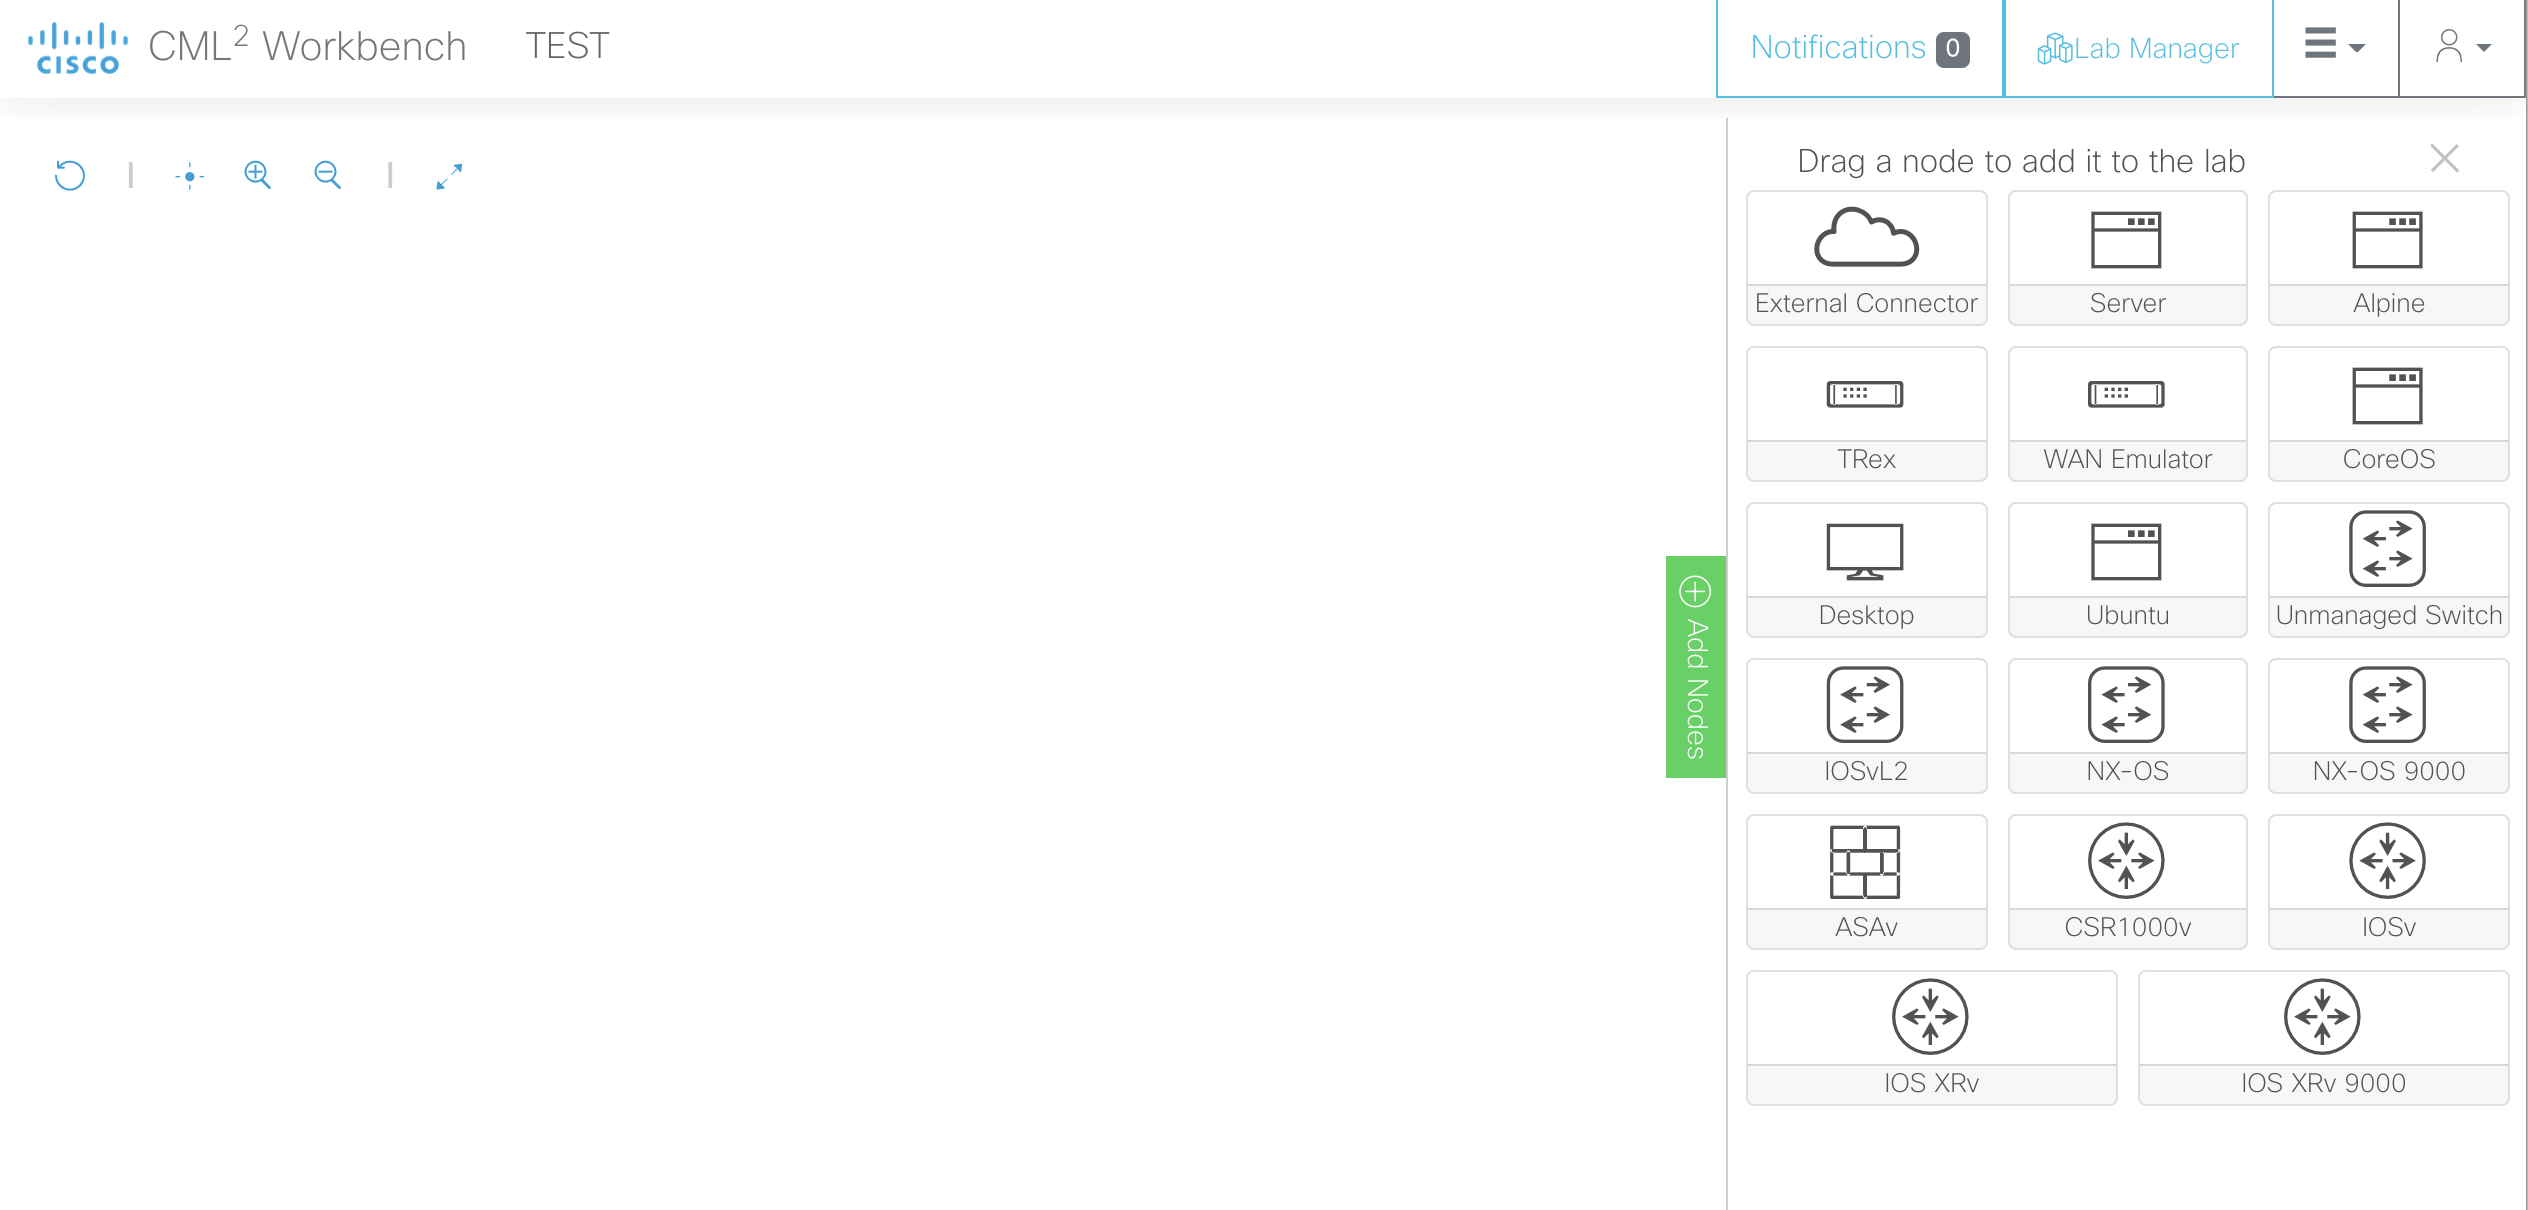
In this window, you can start to add devices and connect them.
